



Why Position Sizing Matters More Than Your Stock Picks


Position sizing determines how much of your capital you allocate to each trade, and it's probably the most overlooked skill in trading. Most traders obsess over entries, chart patterns, and finding the perfect setup while completely ignoring the question that actually determines whether they survive: how much should I risk on this trade? You can have a 70% win rate and still blow up your account if you're sizing positions wrong. You can have a 40% win rate and build wealth steadily if you're sizing positions right.
Why position sizing deserves your attention:
-
A single oversized losing trade can wipe out months of careful gains
-
Consistent sizing creates predictable outcomes over time
-
Proper position sizing keeps you in the game through inevitable losing streaks
-
Your account can recover from small losses but may never recover from catastrophic ones
-
Position sizing is the only variable you fully control before entering a trade
The Overlooked Skill
Everyone wants to talk about which stocks to buy and when to buy them. Nobody wants to talk about how much to buy. This is backwards. The greatest stock pick in the world becomes a disaster if you bet your entire account on it and it moves against you by 15% before your thesis plays out. Meanwhile, a mediocre stock pick with proper position sizing becomes a manageable loss that barely dents your capital.
Professional traders understand that position sizing is what separates gambling from trading. Casinos don't go bankrupt because they win every hand—they profit because they size their risk appropriately across thousands of hands. Your job as a trader is to think like the casino, not the gambler hoping for one big score.
What This Article Covers
This article will walk you through the mechanics and mindset of proper position sizing so you can protect your capital and trade sustainably.
Topics covered:
-
The basic math behind position sizing and why it matters for account survival
-
The 1% and 2% rules that professional traders use to limit risk per trade
-
Step-by-step calculations for determining your position size on any trade
-
Fixed dollar vs. fixed percentage approaches and which works better
-
How position sizing changes across different trading styles
-
Portfolio heat, correlation, and managing multiple positions
-
Common mistakes that lead to blown accounts and how to avoid them
The Basics of Position Sizing


Position sizing answers a simple question: how many shares or contracts should you buy or sell on this trade? The answer depends on your account size, how much you're willing to lose if the trade goes wrong, and where you'll place your stop loss. Get this calculation right and losing trades become manageable setbacks. Get it wrong and a single bad trade can set you back months or eliminate you from the game entirely.
The Relationship Between Size, Risk, and Survival
Position sizing connects your trade idea to your account in a way that determines whether you survive long enough to benefit from your edge. Understanding this relationship is fundamental to sustainable trading.
How the pieces fit together:
-
Larger position sizes amplify both gains and losses proportionally
-
Your stop loss distance determines how much you lose per share if wrong
-
Position size multiplied by stop distance equals your total dollar risk
-
Total dollar risk as a percentage of your account determines whether one loss hurts or destroys
-
Consistent small losses allow you to take many trades and let probability work in your favor
-
Inconsistent large losses can eliminate you before your strategy has time to prove itself
-
Account survival requires keeping individual trade risk small enough to withstand losing streaks
Why Most Traders Get This Wrong
Most traders size positions based on how they feel rather than what the math demands. They get excited about a setup and buy more shares. They feel uncertain and buy fewer. They're on a winning streak so they double their usual size. They just had a painful loss so they revenge trade with everything they have left.
This emotional approach to position sizing guarantees inconsistent results at best and account destruction at worst. The math doesn't care about your feelings. If you risk 10% of your account on a single trade, you're only ten consecutive losses away from being wiped out—and ten consecutive losses is entirely possible even with a strategy that has a positive edge over hundreds of trades. Proper position sizing removes emotion from the equation by establishing rules before you enter the trade, when your thinking is clear rather than clouded by the excitement or fear of having money on the line.
The Bottom Line: Position sizing is the mathematical link between your trade idea and your account survival—it determines whether a losing trade is a minor setback you recover from in a few trades or a catastrophic blow that sets you back months, and getting this math right matters more than finding perfect entries or picking the hottest stocks.
The 1% and 2% Rules
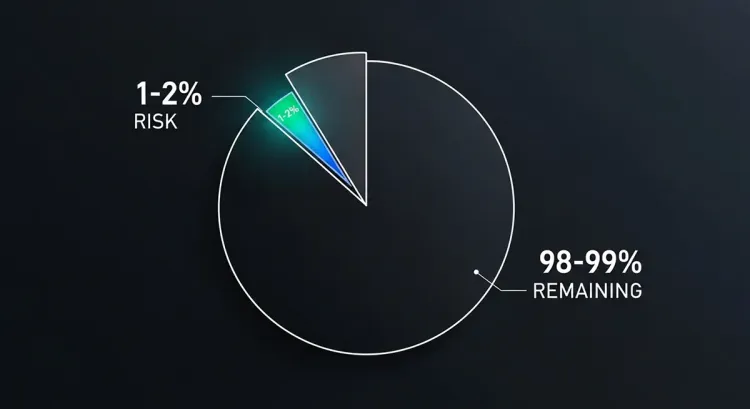
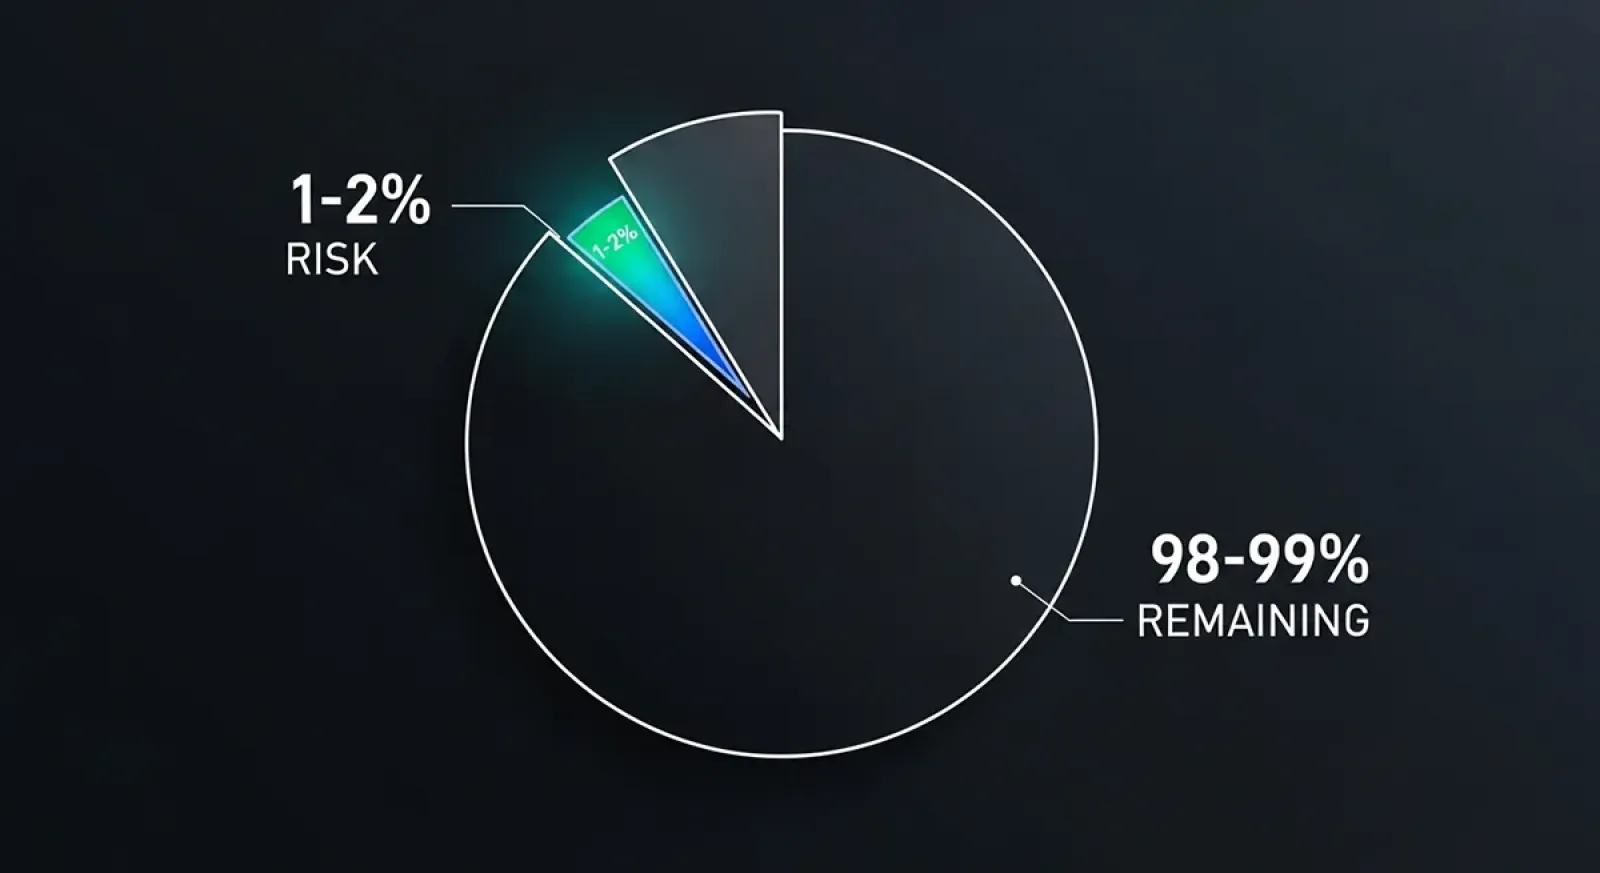
The most widely used position sizing approach among professional traders is the fixed percentage rule—risking the same percentage of your account on every trade regardless of how confident you feel. The 1% rule means you never risk more than 1% of your total account on a single trade. The 2% rule doubles that threshold. These percentages sound small until you realize they're designed to keep you alive through the inevitable losing streaks that every trader faces.
How the 1% Rule Works in Practice
The 1% rule limits your maximum loss on any single trade to 1% of your account value. This isn't 1% of your position size—it's 1% of your entire account.
Here's what the 1% rule looks like with different account sizes:
-
$10,000 account: maximum risk per trade is $100
-
$25,000 account: maximum risk per trade is $250
-
$50,000 account: maximum risk per trade is $500
-
$100,000 account: maximum risk per trade is $1,000
-
Your position size then gets calculated backward from this dollar risk amount and your stop loss distance
When 2% Makes Sense
The difference between 1% and 2% risk per trade might seem trivial, but it compounds dramatically over losing streaks and winning runs. Choosing between them depends on your trading style, win rate, and emotional tolerance for drawdowns.
IF you're a newer trader still proving your edge… THEN stick with 1% or even 0.5% until you have statistical evidence your strategy works.
IF you have a proven strategy with a win rate above 50% and favorable risk/reward… THEN 2% may be appropriate because your edge can recover losses faster.
IF you take many trades per day or week… THEN 1% keeps total exposure manageable when multiple positions are open.
IF you take fewer, higher-conviction swing trades… THEN 2% may work because you're taking less frequent risk.
IF you're trading a volatile strategy with wide stops… THEN 1% prevents the dollar amounts from becoming emotionally difficult.
IF you've experienced a recent drawdown exceeding 10%... THEN drop to 1% or lower until you recover and regain confidence.
Adapting to Your Account Size
The percentage rules scale automatically with your account, which is one of their greatest strengths for position sizing. As your account grows, your dollar risk per trade grows proportionally, allowing you to compound gains without manually adjusting your approach. As your account shrinks during drawdowns, your dollar risk decreases automatically, providing a built-in mechanism for capital preservation when things aren't going well.
Small accounts face a practical challenge with the 1% rule—if you have a $5,000 account, 1% is only $50, which may not allow you to buy meaningful positions in higher-priced stocks while maintaining proper stop distances. In these cases, you have two choices: trade lower-priced stocks where $50 of risk buys you adequate position size, or accept slightly higher percentage risk (1.5-2%) with the understanding that you're trading capital preservation for the ability to participate. Neither option is wrong, but you should make the choice consciously rather than accidentally oversizing because the math felt inconvenient.
Calculating Position Size Step by Step


Position sizing follows a straightforward formula once you know the inputs. The calculation works backward from how much you're willing to lose—not how much you hope to gain. Every trader should be able to run this math quickly before entering any trade, whether using a calculator, spreadsheet, or mental arithmetic with round numbers.
The position sizing calculation in order:
-
Identify your total account size: This is your complete trading capital, not just available cash—for example, $50,000
-
Determine your risk percentage per trade: Choose 1%, 2%, or whatever percentage fits your risk tolerance—for example, 1%
-
Calculate your dollar risk amount: Multiply account size by risk percentage—$50,000 x 0.01 = $500 maximum risk on this trade
-
Identify your entry price: The price at which you plan to buy or short the stock—for example, $75.00 per share
-
Set your stop loss price: The price at which you'll exit if the trade goes against you—for example, $72.00 per share
-
Calculate risk per share: Subtract stop price from entry price (for long trades)—$75.00 - $72.00 = $3.00 risk per share
-
Calculate your position size: Divide dollar risk amount by risk per share—$500 ÷ $3.00 = 166 shares
-
Round down for safety: Drop to the nearest round number—buy 165 or 160 shares, not 170
Putting It All Together
The formula is simple: Position Size = Dollar Risk ÷ Risk Per Share. Everything else is just identifying the inputs. Your dollar risk comes from your account size and chosen risk percentage. Your risk per share comes from the distance between your entry and stop loss. These two numbers give you exactly how many shares to buy so that if your stop gets hit, you lose only your predetermined acceptable amount.
This position sizing approach means your share count changes on every trade depending on how far your stop loss is from your entry. A tight stop allows more shares. A wide stop forces fewer shares. The dollar risk stays constant while position size adjusts—this is the opposite of how most amateur traders think, where they buy a fixed number of shares and hope the stop loss doesn't cost too much. Professionals decide how much they're willing to lose first, then calculate the position size that makes that loss happen if they're wrong.
Fixed Dollar vs. Fixed Percentage Approaches


Two main approaches dominate position sizing: risking a fixed dollar amount on every trade regardless of account size, or risking a fixed percentage that adjusts automatically as your account grows or shrinks. Both methods work, but they produce very different results over time. Understanding the tradeoffs helps you choose the approach that fits your situation and goals.
Fixed Dollar Approach
The fixed dollar method means you risk the same dollar amount on every trade—say $200 or $500—regardless of your account value. This approach has some appeal for its simplicity.
Fixed dollar characteristics:
-
Easy to calculate and remember—no percentage math required
-
Dollar risk stays constant whether your account is up or down
-
Doesn't automatically compound gains as account grows
-
Doesn't automatically protect capital during drawdowns
-
Works reasonably well for stable account sizes
-
Becomes increasingly conservative as account grows (good for preservation)
-
Becomes increasingly aggressive as account shrinks (dangerous during losing streaks)
-
May need manual adjustment periodically to stay appropriate
Fixed Percentage Approach
The fixed percentage method means you risk the same percentage of your current account value on every trade—typically 1-2%. This approach requires slightly more calculation but produces better long-term results for most traders.
DO use fixed percentage position sizing if you want your gains to compound automatically as your account grows.
DO recalculate your dollar risk amount regularly—weekly or monthly—to keep the percentage accurate.
DO use fixed percentage during drawdowns because it automatically reduces your dollar risk and protects remaining capital.
DO understand that percentage-based sizing means your position sizes grow as you succeed, accelerating returns.
DON'T use fixed dollar amounts if you're actively trying to grow a small account into a larger one.
DON'T ignore how fixed dollar risk becomes proportionally larger during losing streaks when your account shrinks.
DON'T stick rigidly to fixed dollar amounts for years without reassessing whether they still make sense for your account size.
DON'T let the slightly more complex math of percentage-based sizing push you toward the simpler but inferior fixed dollar approach.
Which Method Scales Better
The percentage-based approach wins for most traders because it automatically adapts to your account size in both directions. When you're winning, your dollar risk increases proportionally, allowing you to compound gains without manually adjusting your position sizing rules. When you're losing, your dollar risk decreases proportionally, slowing your drawdown and giving you more trades to recover before running out of capital.
Fixed dollar amounts don't adapt. If you're risking $500 per trade on a $50,000 account, that's 1%—perfectly reasonable. But if you hit a rough stretch and your account drops to $30,000, that same $500 risk is now 1.67% per trade. Keep losing and it becomes 2%, then 3%, accelerating your decline precisely when you need protection. The percentage method would have automatically dropped your dollar risk to $300 at the $30,000 level, slowing the bleeding and giving you more chances to turn things around.
Remember: Fixed percentage position sizing automatically compounds your gains during winning periods and automatically protects your capital during drawdowns—this built-in adaptation makes it superior to fixed dollar approaches for most traders, especially those focused on long-term account growth rather than just short-term trading.
Position Sizing for Different Trading Styles
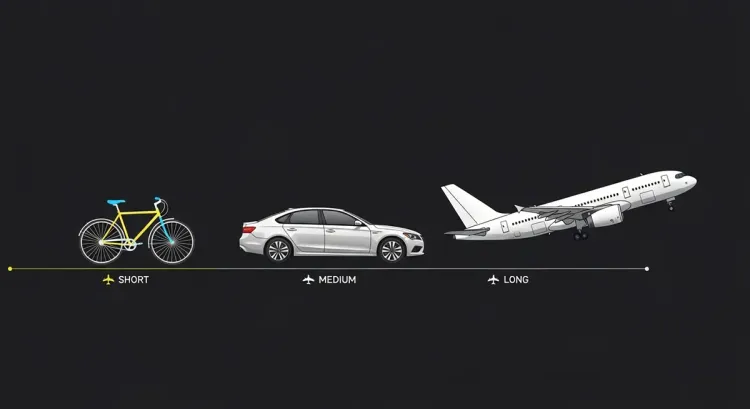
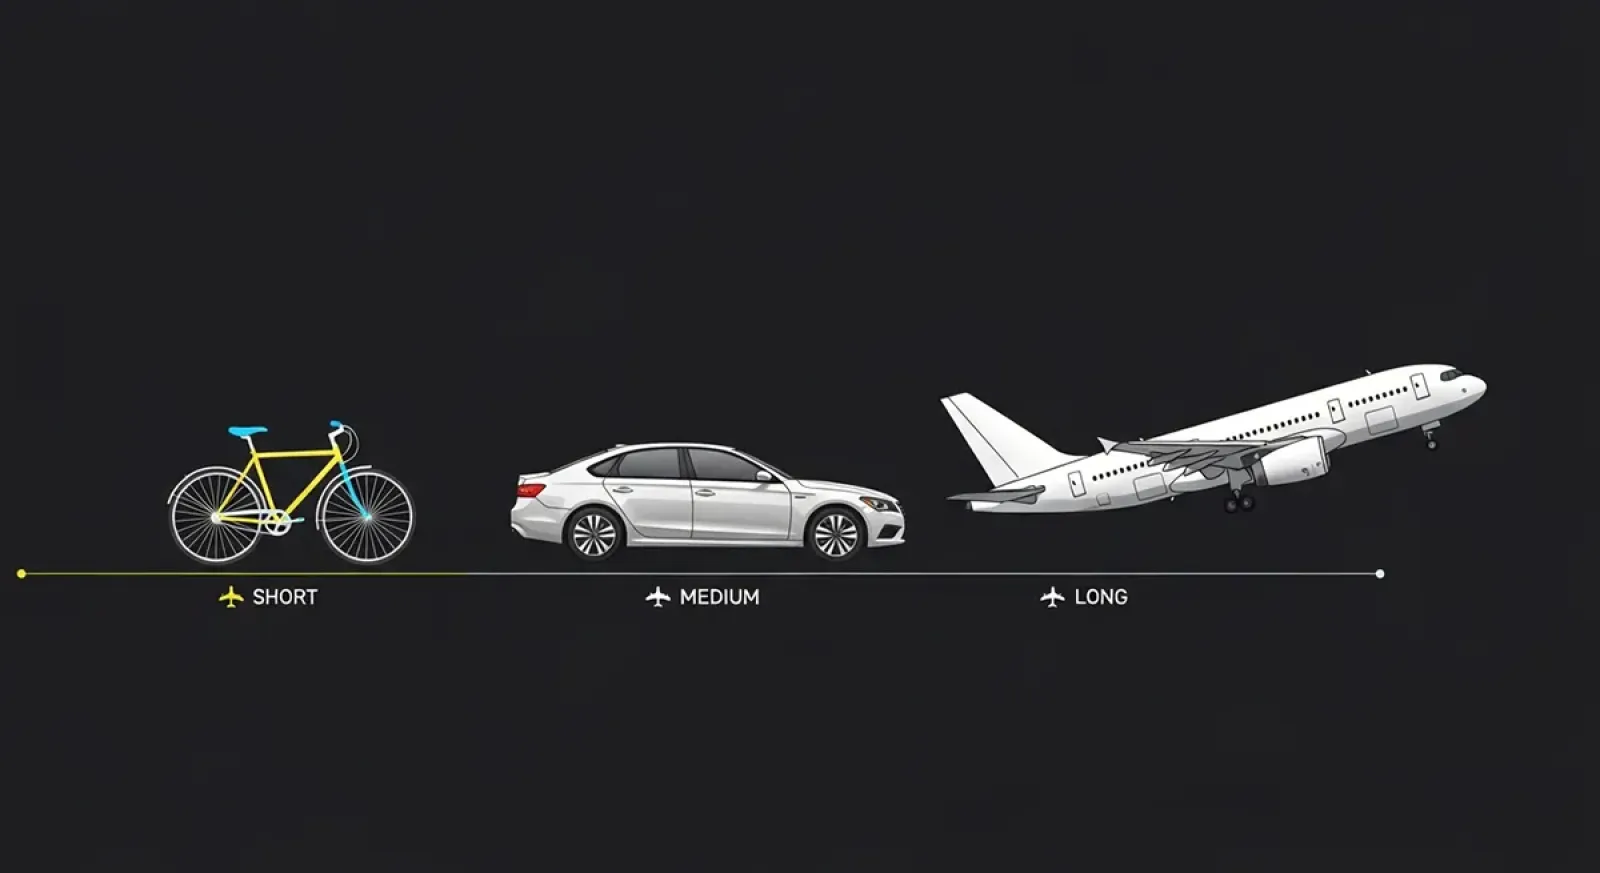
The core principles of position sizing remain constant across trading styles—risk a small percentage of your account, calculate size based on stop distance, protect capital above all else. But the application changes depending on how long you hold trades, how many positions you manage simultaneously, and the characteristics of the instruments you trade. Understanding these differences helps you adapt the fundamentals to your specific approach.
Day Trading Position Sizing
Day traders face unique position sizing challenges because they often take multiple trades per session with tight stops and quick exits. The rapid pace changes how risk accumulates throughout the day.
Day trading considerations:
-
Tighter stops mean larger position sizes for the same dollar risk—this is fine mathematically but can feel emotionally intense
-
Multiple trades per day require tracking cumulative daily risk, not just per-trade risk
-
Consider a daily loss limit (e.g., 3% of account) in addition to per-trade limits
-
Intraday buying power allows larger positions but doesn't mean you should use it all
-
Commission and slippage costs matter more with frequent trading and should factor into your risk calculations
-
Avoid sizing up just because you're flat by end of day—overnight risk isn't the only risk that matters
Swing Trading Considerations
Swing traders hold positions for days to weeks, which introduces overnight gap risk and requires wider stops that affect position sizing calculations differently than day trading.
Quick tip: Swing trade stops are typically wider than day trade stops, so your share count will be lower for the same dollar risk—this is correct, not a reason to increase risk percentage.
Quick tip: Account for potential gap risk by keeping position sizes conservative enough that an overnight gap through your stop doesn't create catastrophic losses beyond your planned risk.
Quick tip: Multiple swing positions open simultaneously compound your total portfolio risk—track your aggregate exposure, not just individual trade risk.
Position Trading and Options
Position traders and options traders operate on different timeframes and with different instruments, requiring specific adaptations to standard position sizing approaches.
Position traders holding for weeks to months need even wider stops to accommodate larger price swings, which naturally reduces position sizes. This isn't a problem—it's the math working correctly. The temptation is to increase risk percentage to achieve larger position sizes, but this defeats the purpose of position sizing entirely. Accept smaller share counts in exchange for the wider stops your timeframe requires. Your dollar risk stays constant; only your shares change.
Options trading position sizing requires a different framework because options can go to zero. Many options traders simply risk the entire premium paid, making position sizing about how much premium to spend rather than calculating stop distances. A common approach is risking 1-2% of your account on the total premium—if you have a $50,000 account and risk 1%, you spend no more than $500 on any single options position. This means the absolute worst case (total loss of premium) still only costs you 1% of your account. More sophisticated options traders use delta-adjusted position sizing or notional value calculations, but the premium-at-risk method works well for most retail options traders.
Portfolio Heat and Correlation


Individual position sizing is only half the equation. The other half is managing your total portfolio risk—how much of your account is at risk across all open positions at any given moment. You can follow perfect 1% position sizing rules on each trade and still blow up your account if you have twenty positions open simultaneously. Portfolio heat measures your aggregate exposure, and keeping it within limits is just as important as sizing individual trades correctly.
Maximum Portfolio Risk
Portfolio heat refers to the total percentage of your account at risk if every open position hits its stop loss at the same time. This worst-case scenario is unlikely but not impossible, especially during market crashes or sector-wide selloffs.
Managing total exposure:
-
The 6% rule limits total portfolio heat to 6% of account value at any time
-
With 1% risk per trade, this means a maximum of six open positions
-
With 2% risk per trade, this means a maximum of three open positions
-
Some traders use 8-10% as their portfolio heat ceiling depending on risk tolerance
-
Calculate portfolio heat by adding up the dollar risk of all open positions
-
Reduce exposure or avoid new trades when approaching your heat limit
-
Market-wide events can trigger all your stops simultaneously—plan for this possibility
Correlation and Concentration
Position sizing gets complicated when your positions are correlated. Owning three different oil stocks isn't really three separate bets—it's essentially one large bet on oil prices. Correlation means your positions move together, amplifying both gains and losses beyond what individual position sizing would suggest.
How correlation affects portfolio risk:
-
Correlated positions should be counted together when calculating portfolio heat
-
Three tech stocks at 1% risk each is closer to one 3% tech bet than three independent positions
-
Sector concentration creates hidden risk that individual position sizing doesn't capture
-
Consider your positions' correlation to major indices—during crashes, most stocks fall together
-
Diversification across uncorrelated sectors reduces the chance of simultaneous stop-outs
-
Long and short positions in unrelated sectors provide better risk distribution than all longs in one sector
-
Beta matters—high beta positions amplify market moves and should be sized more conservatively
-
During high correlation periods (market stress), even normally uncorrelated positions move together
Keep In Mind: Position sizing for individual trades protects you from single-trade disasters, but portfolio heat management protects you from multiple-trade disasters—both are necessary because perfect individual sizing means nothing if you're holding ten correlated positions that all collapse during a sector rotation or market selloff.
Common Position Sizing Mistakes


Most traders lose money not because their trade ideas are terrible but because their position sizing is inconsistent, emotional, or nonexistent. The mistakes are predictable and repeated across millions of trading accounts. Recognizing these errors in advance gives you a chance to avoid them—though knowing what not to do and actually not doing it are very different things when money is on the line.
Common position sizing errors:
-
Sizing based on conviction rather than math—betting big because you "feel good" about a trade and small when uncertain, creating inconsistent risk that undermines any edge
-
Ignoring stop distance in calculations—buying a fixed number of shares regardless of how far your stop is, which means wildly different dollar risk on each trade
-
Over-concentrating in single positions—putting 20-30% of your account into one trade because the setup looks perfect, then watching a single loss devastate your capital
-
Averaging down into losers—adding to losing positions which increases risk precisely when the trade is proving you wrong
-
Sizing up after winning streaks—increasing position sizes during hot streaks because you feel invincible, then giving back all gains when the streak ends
-
Sizing up to recover losses—doubling position size after losses to "make it back quickly," accelerating drawdowns instead
-
Inconsistent risk percentages—risking 0.5% on one trade, 3% on another, with no systematic reason for the difference
-
Emotional adjustments mid-trade—adding to positions or moving stops based on fear or greed rather than predetermined rules
-
Ignoring correlation—taking full position sizes in multiple correlated stocks and treating them as independent risks
-
Round number fixation—buying 100 or 500 shares because it feels clean rather than calculating the correct size based on risk
-
Position sizing based on share price—assuming a $10 stock is "cheaper" and deserves more shares than a $200 stock, ignoring that dollar risk is what matters
-
Skipping the calculation entirely—entering trades without any position sizing math and hoping it works out
Why These Mistakes Persist
Position sizing mistakes persist because they feel right in the moment even though they're mathematically wrong. Betting big on high-conviction trades feels like confidence. Adding to losers feels like getting a better average price. Sizing up after wins feels like pressing your advantage. The emotional logic is compelling even when the mathematical logic is disastrous.
The solution isn't more willpower—it's removing decisions from the emotional moment. Calculate your position sizing before you enter the trade, when you're calm and thinking clearly. Write down the rules and follow them mechanically. Treat position sizing like a system rather than a choice you make in real-time. The traders who survive long-term aren't the ones with superior emotional control; they're the ones who built systems that don't require emotional control because the decisions are already made.
Making Position Sizing Work for You


Position sizing isn't the exciting part of trading. Nobody brags about their risk management at parties. But the traders who survive long enough to become consistently profitable share one trait: they figured out position sizing before they figured out everything else. Your brilliant stock picks and perfect entries mean nothing if one bad trade wipes out six months of gains. The math is unforgiving, and the math favors those who keep individual trade risk small enough to absorb the inevitable losing streaks.
Consistency Over Heroics
The goal of position sizing isn't to maximize any single trade—it's to maximize your probability of long-term survival. This requires accepting something uncomfortable: you will leave money on the table. When a trade goes your way, proper position sizing means you won't have bet the farm. You'll watch the stock climb and know you could have made more. This is the price of staying in the game. The traders chasing maximum gains on every trade eventually hit the one loss that ends them. The traders accepting modest, consistent gains with controlled risk are still trading years later.
Start small, even smaller than you think necessary. Risk 0.5% per trade instead of 1% while you're learning. The money you leave on the table by being conservative is tuition paid toward developing discipline. As your skills improve and your track record proves your edge, you can gradually increase risk percentages with evidence backing the decision. Position sizing discipline built with small stakes transfers directly to larger accounts. Position sizing recklessness built with small stakes also transfers—and becomes catastrophically expensive when the numbers get bigger. Learn the right habits now, when mistakes are cheap, so they're automatic later when mistakes are costly.
